


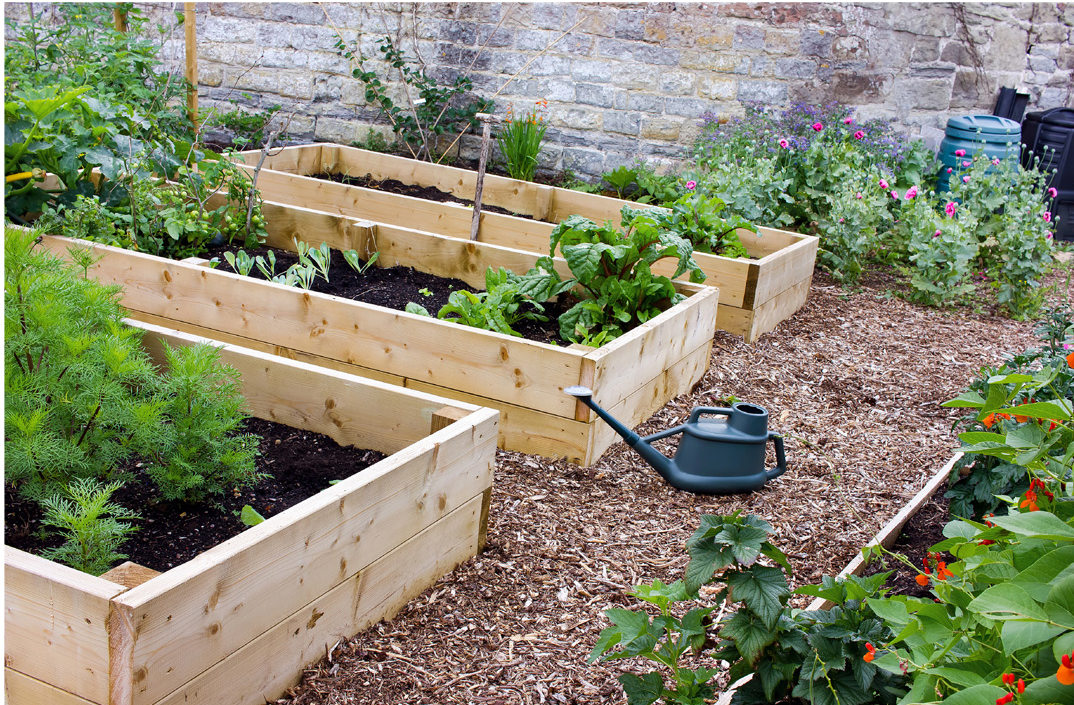
Raised garden beds are popular, practical, and relatively easy to build. A raised garden bed with treated wood is a cost-effective and durable option that can be customized to fit any landscape. Whether you’re growing vegetables, flowers, or herbs, treated lumber provides long-lasting performance while maintaining a clean, attractive look in your yard.
Benefits of a Raised Garden Bed with Treated Wood
- Improved drainage
- Easier to improve soil quality
- Easier weed control
- Easier to water
- Fewer pests and rodents
- Less physical strain for the gardener
- Improved accessibility for elderly, disabled, or individuals with physical limitations
TIP #1:
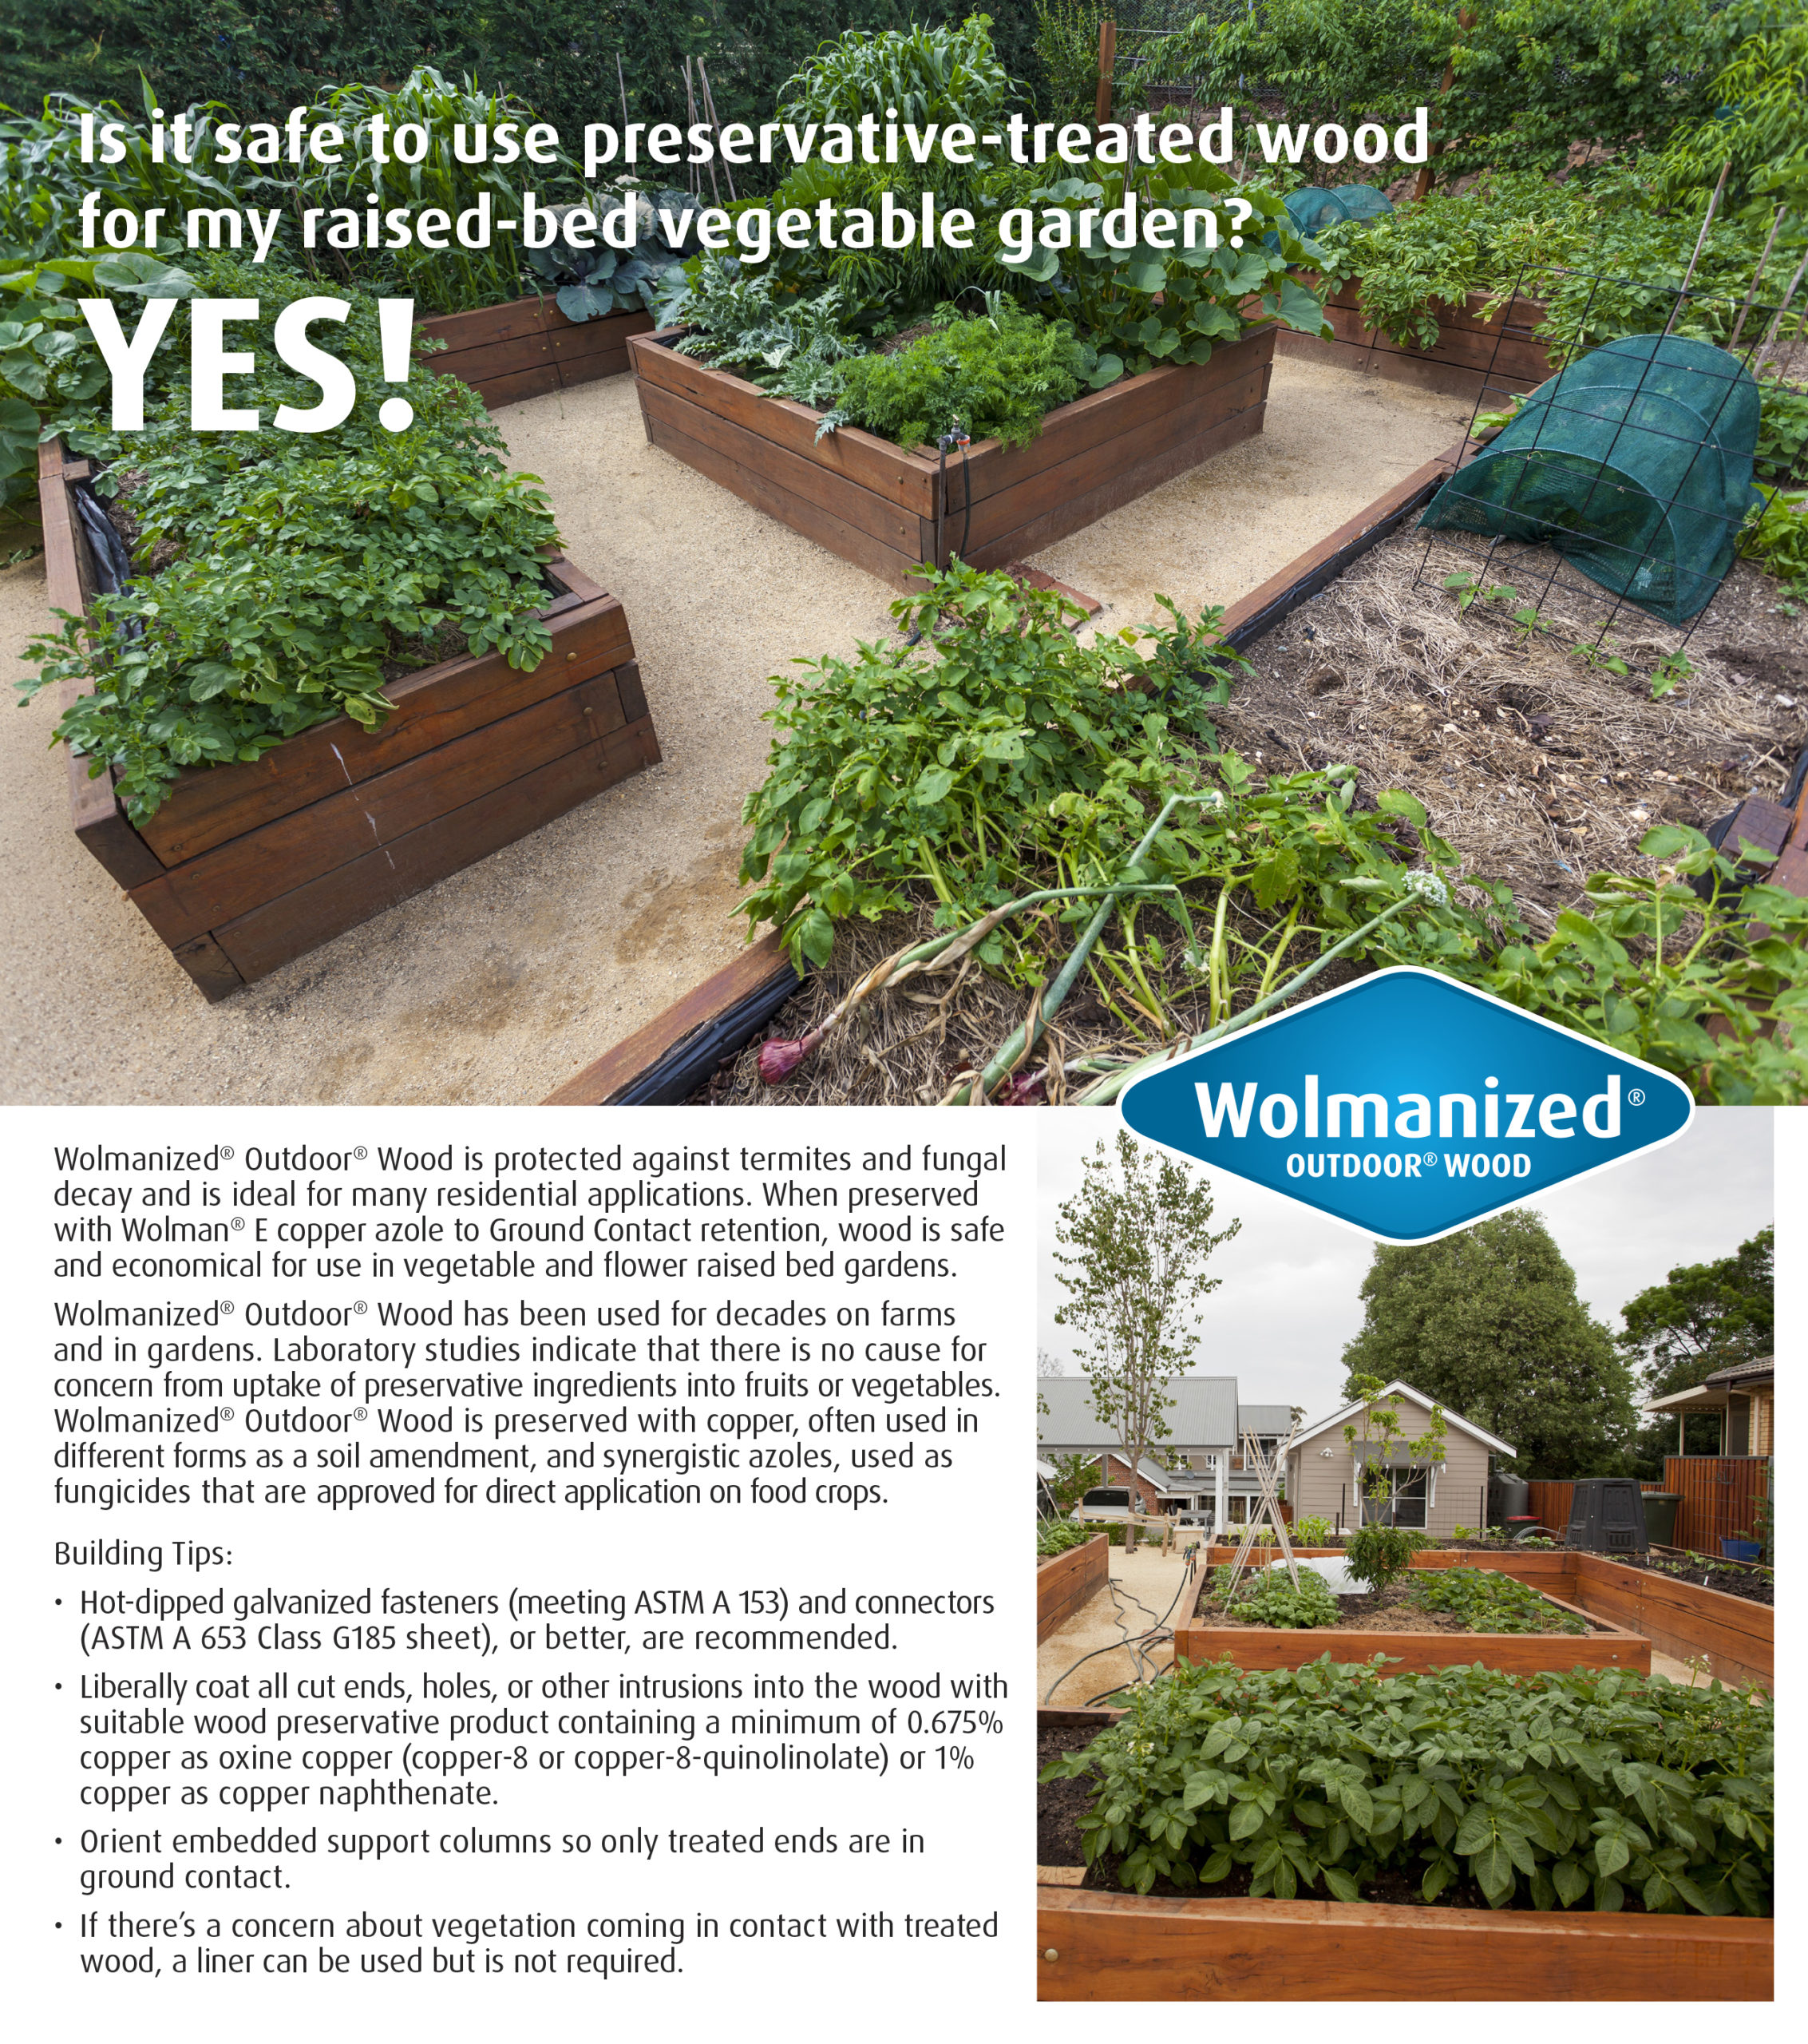
If there’s a concern about vegetation coming in contact with treated wood, a liner can be used but is not required.
TIP #2:
Orient embedded support columns so only treated ends are in ground contact.
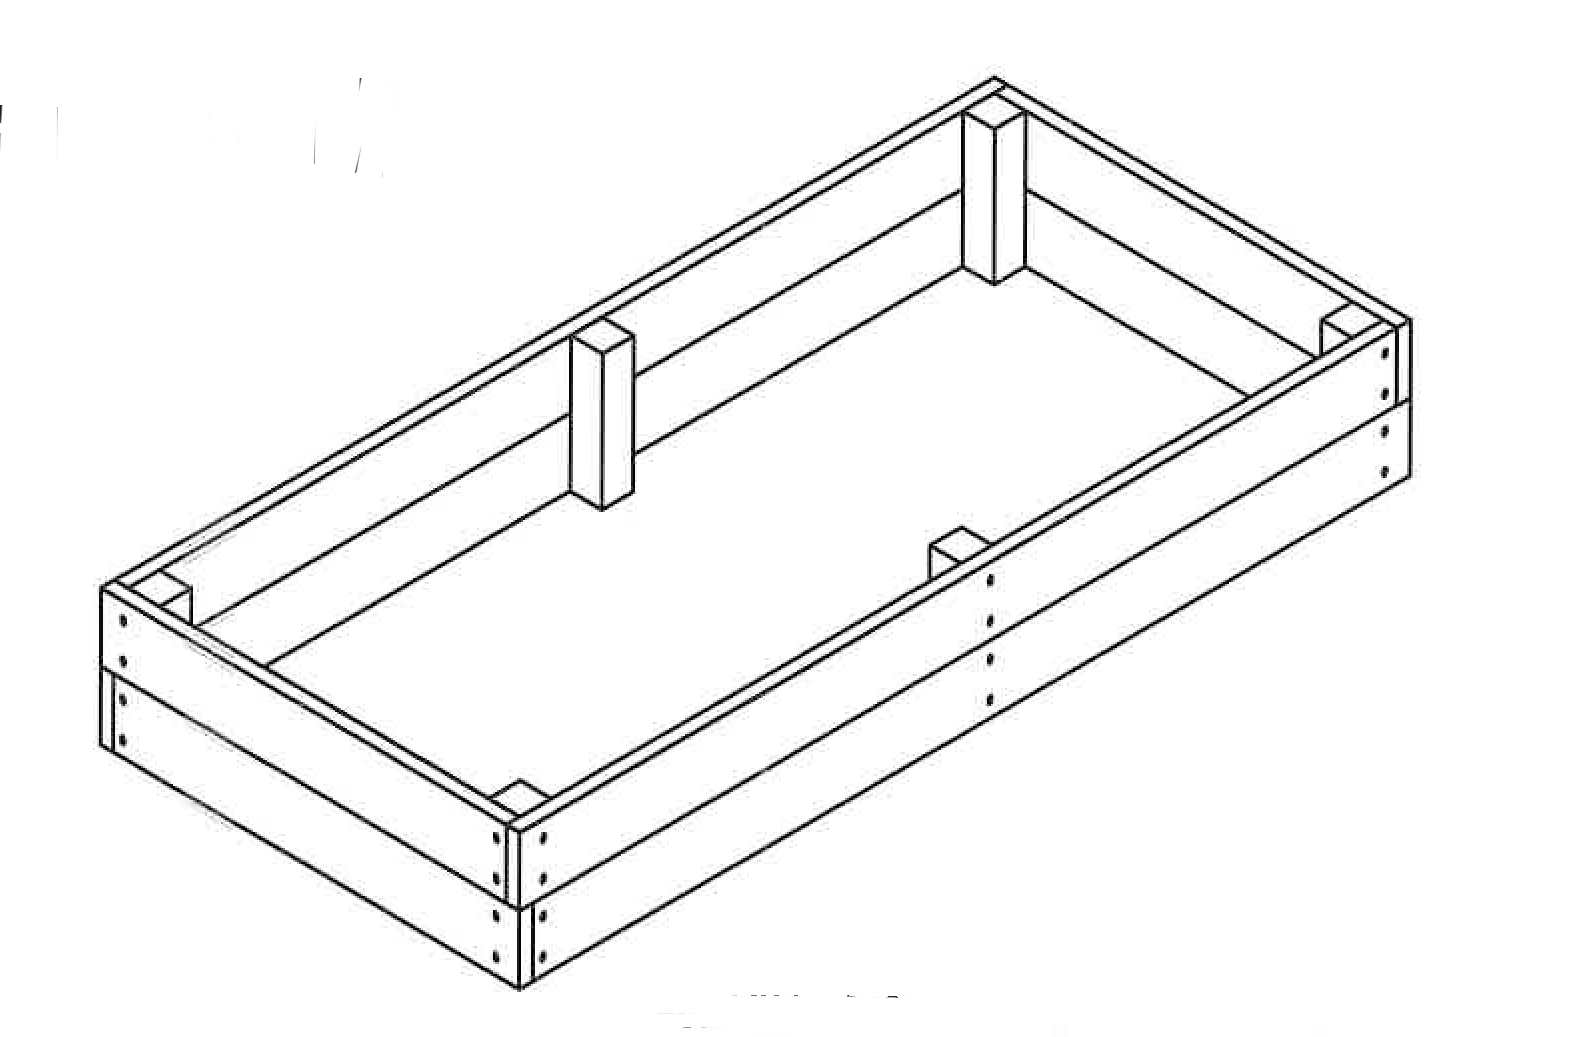
INSTRUCTIONS FOR BUILDING
A RAISED GARDEN BED
A raised garden bed with treated wood offers durability and resistance to rot, making it ideal for outdoor use in all climates. Modern pressure-treated lumber is designed for residential applications and is widely used in garden projects. For added peace of mind, gardeners can choose to line the interior, but many find it unnecessary for typical planting use.
Materials List for Raised Garden Bed:
- (6) 2″ x 8″ x 8′ Pressure-treated boards
- (1) 4″ x 4″ x 8′ Pressure-treated post
- (1) Box of 3″ — #8 Galvanized all-purpose screws
Building Steps: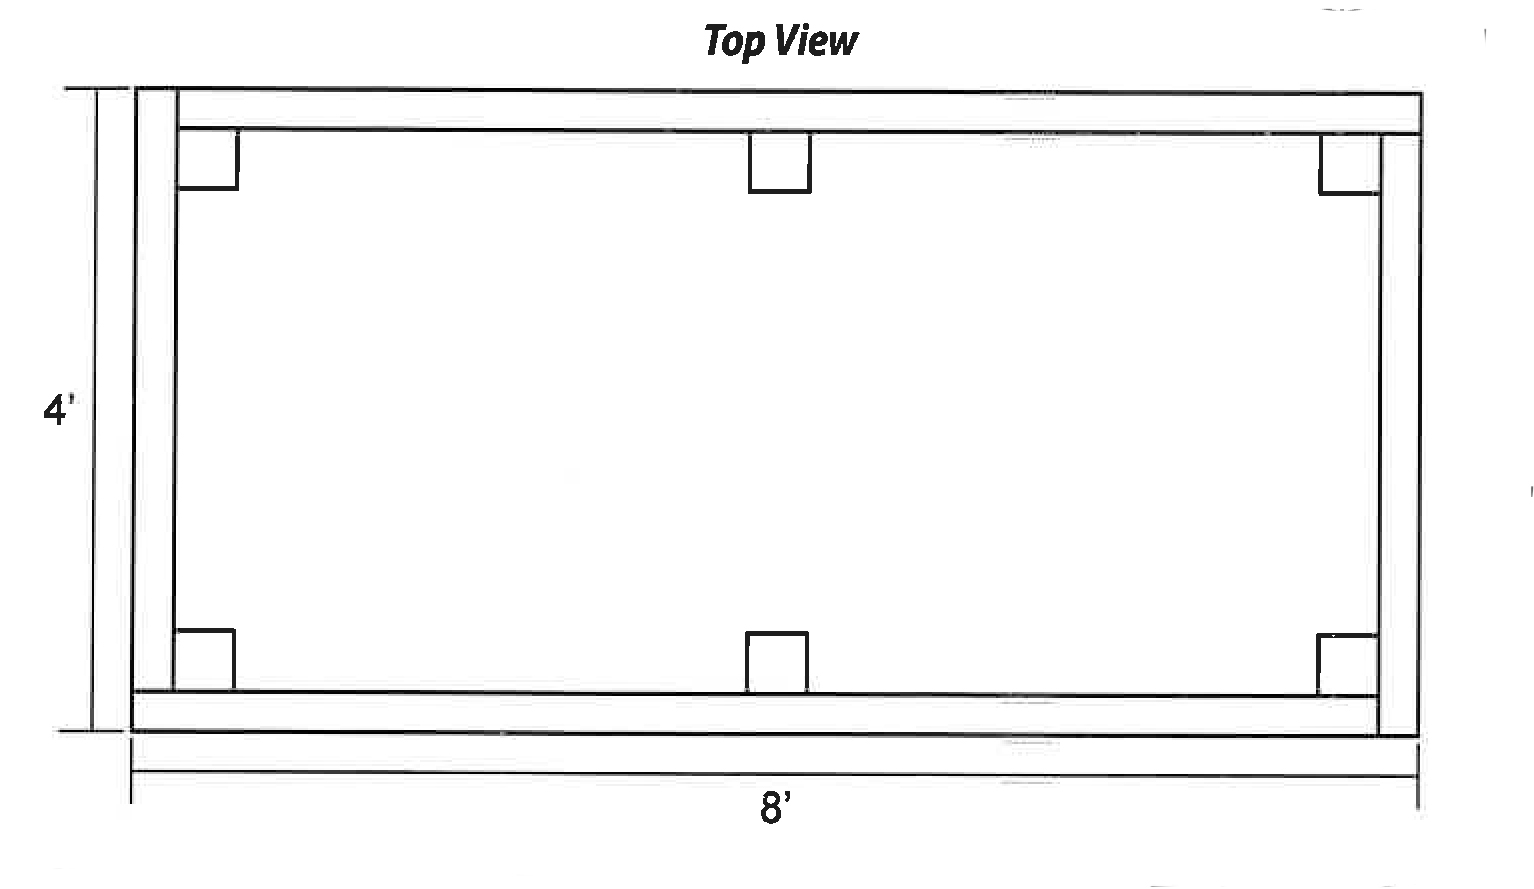
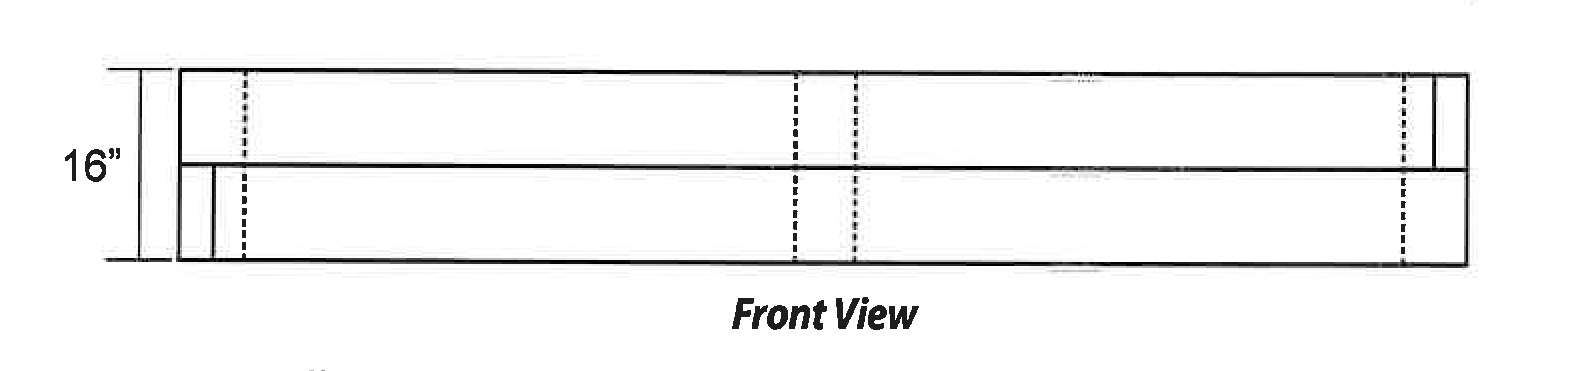
- Use 4 single 8′ 2x8s for the long sides of the bed. Drill pilot holes in both ends of the two side pieces when they will connect to the ends of the other two side pieces.
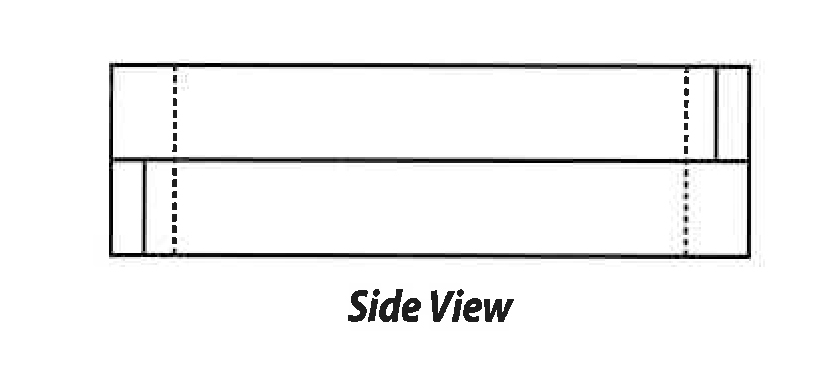
- Cut four lengths of 2×8 at 48″ for the sides. (You should be able to do with a single 8′ board.) Drill pilot holes in both ends of these pieces as well.
- Connect the sides with 3″ deck screws.
- Attach a piece of landscape fabric to the bottom edges using galvanized staples. Leave some slack in the fabric, allowing that the weight of the soil with stretch the fabric.
- Fill the bed with soil and start planting your garden.
Download Instructions for Your Raised Garden Bed Here —Raised Bed Instructions